

Flat negatives are one of those important things that I sometimes take for granted. A good film holder for your enlarger takes out the guess work; put the negative in, hit with the brush to grab any stray dust, focus, and print.
Recently though I ran into an issue with some inherited, very old, buckled, and rolled negatives that just would not sit flat in my regular Beseler 45 holders. Normally stopping down would solve at least most of the tiny inconsistently, but between the heat of the condenser head and just how angry they were in general to get lined up, I decided, hey, why not have some fun? Let’s build a negative holder.
First thing you might be wondering is what is anti-newton glass? This is glass specifically treated, usually with a rough surface on one side, to reduce the appearance of Newton rings. A Newton ring is an interference pattern created by the reflection of light between two surfaces - typically when two pieces of glass come together. You can read the entire gist on Wikipedia.
If you’ve used one of the fancier negative holders (re: expensive) for your enlarger, you might have used said glass. I wanted my own version of this without the cost and something that was more flexible, particularly for odd sized negatives I might run into.
Anti-newton glass is not particularly inexpensive; you can buy the glass specific to your Beseler or Omega in 4x5 size from anywhere between $80-200 USD without the holder. This was too expensive for this experiment, so I fell back to looking for anti-glare glass, sometimes called museum glass. Frame shops typically have this and this glass too has a somewhat rough, matte like surface that looks a lot like anti-newton glass. I was able to pick up a couple of pieces for $35 USD.
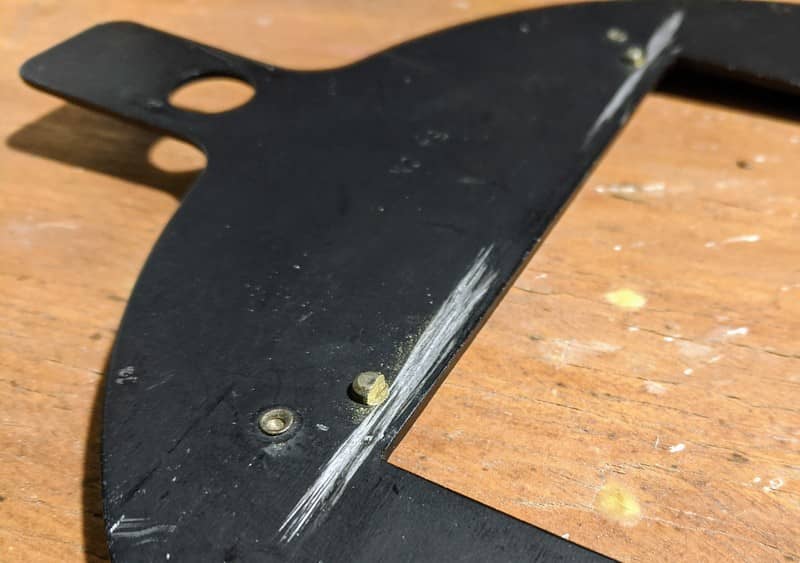
The second problem was how to mount this. I took a spare 45 4x5 negative carrier and split it in half carefully by drilling the hing rivets. The glass however would not fit between the brass pins that extrude into the upper plate. I grabbed a fine file and just hit the brass evenly until I got a decent fit.
With the glass fitting, I dusted the holder with flat matte black paint and felted the outer shell of the holder. The felt, a fine black velvet, was overkill it just so happened I had a great deal of it around (which I use in other camera related repair operations). This version worked absolutely fine as is with my larger 4x5 negatives. But that’s not why we’re at this party.
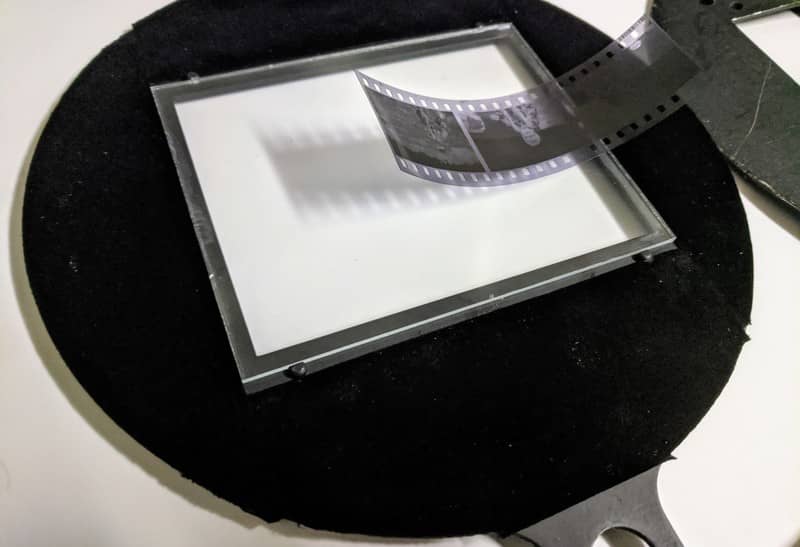
The problem was, how to flatten the pesky negatives that didn’t want to sit. I tried using my second plate of glass on top which worked well but was unstable; it just wouldn’t hold in place without sliding. Instead, I decided it was time for some 3D printing.
When it comes to photographic parts black polycarbonate filament is my go to. The filament, while a pain to print and rather expensive, is strong and doesn’t warp. I find it extremely light tight and takes a layer of black matte enamel like a champ. Since I had a spool already loaded up, I designed and printed a series of 1mm masks for said glass. The models are simple and easy to print (you don’t have to use polycarbonate) and I’ve made them all available on Github for those so inclined.
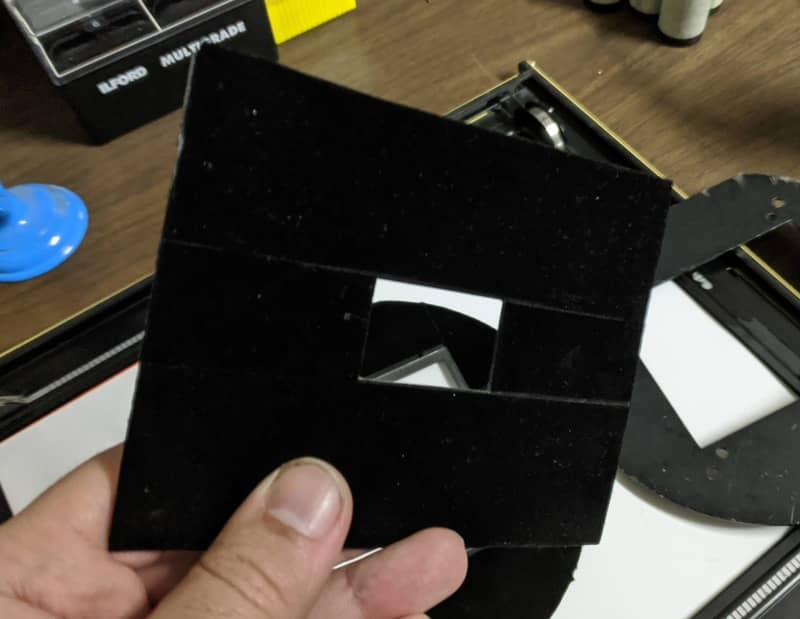
I then took said masks and felted the bottom that would sit on the negative.
The masks give an soft edge, though I don’t generally print with the negative holder edge so this matters very little to me. The image below, which I’ve exaggerated by using a misaligned negative in the mask shows to show the current effect. If you were so included, you could print your own custom edges if you wanted them in your print.

With the negative my masks working okay, I now needed them to not slide around. To resolve this, I outlined the glass holder with rare earth magnets and using a couple flat pieces of steel created a quick and strong means to hold the negative and mask in place. Note, this is indeed really really strong (to the point that it’ll actually not move when I put the holder down on my metal work table).
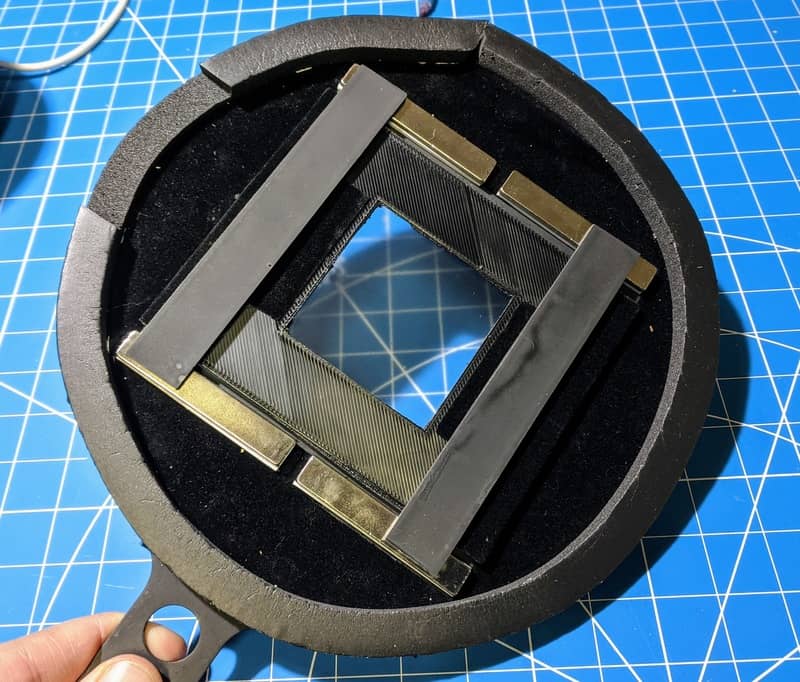
The outer ring of black insulation (nothing more than $5 USD insulation for windows found at your local hardware store) further creates a light tight seal and prevents the negative stage in close quarters to go too high. I didn’t want the steel too close to the condenser head.
In practice, this holder resolves those pesky negatives that just don’t want to lay flat and I’ve seen no indication of Newton rings on my recent set of prints or any sort of degradation. I had always been told glass was a pain due to dust, but I haven’t much experienced that (though I’m still in the test phase).
Will this holder replace all of my holders? Probably not. It requires more care in the setup to use than my other negative holders. Like most tools however, it’s all about best use for the job, and this serves it’s very particular purpose for me.
Now, back to printing.